Checklist for Optimizing Azure Build Pipelines
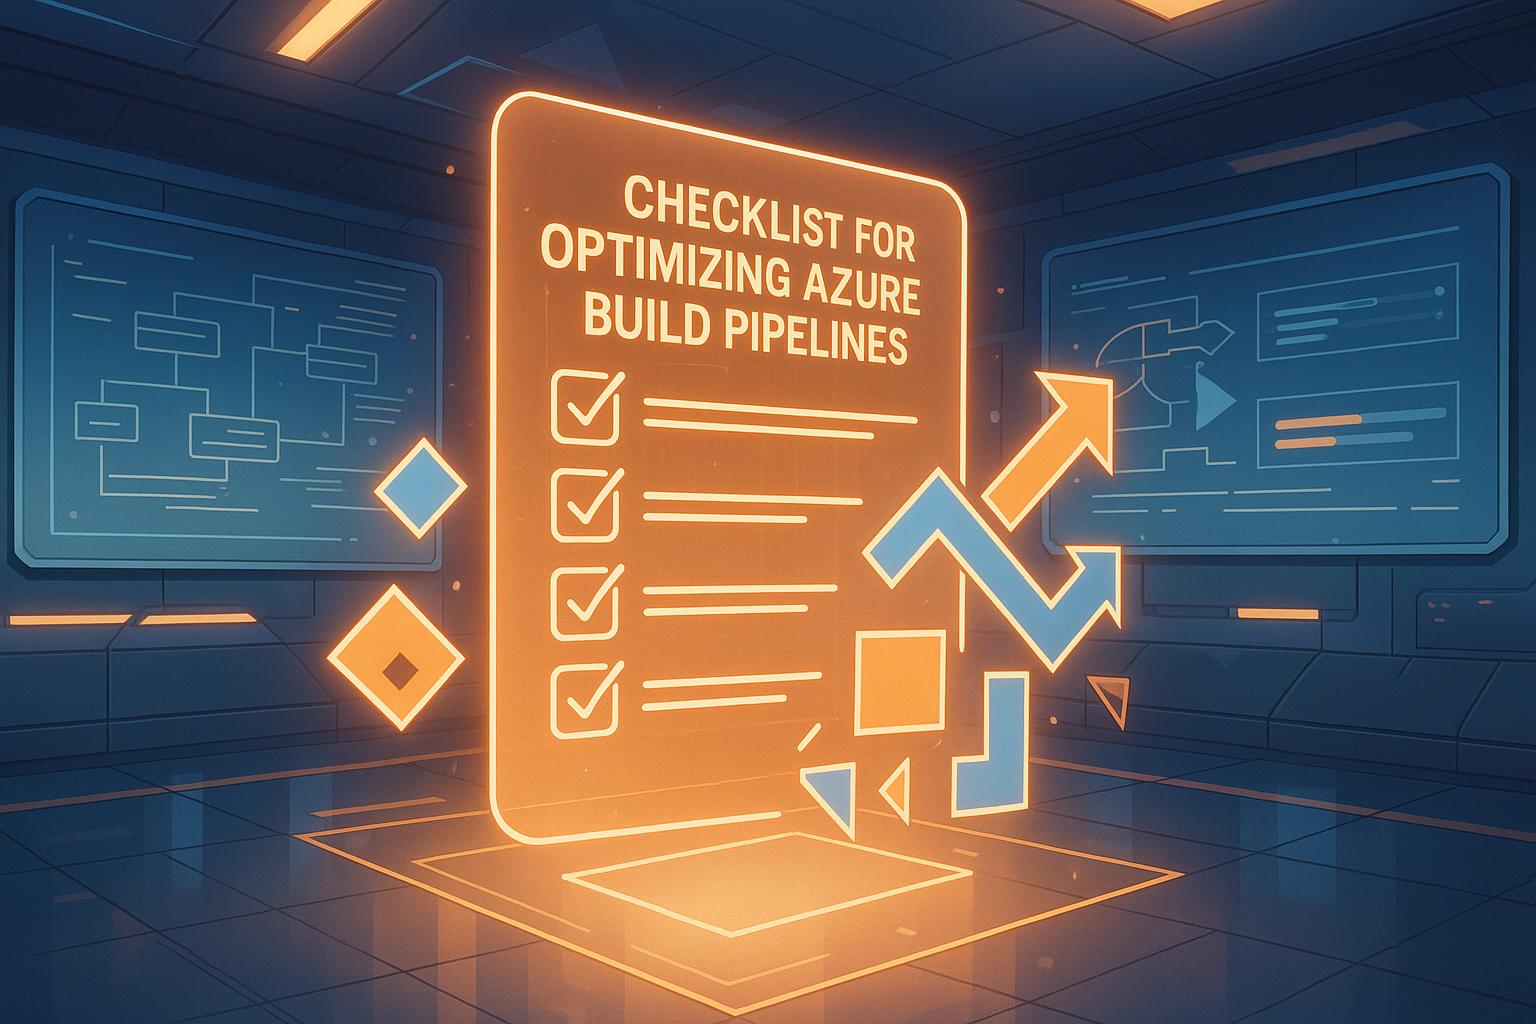
Azure build pipelines are essential for efficient CI/CD workflows, but slow builds and inefficiencies can waste time, increase costs, and disrupt development. Optimizing your pipelines can significantly reduce build times, cut cloud expenses, and improve deployment reliability. Here’s how you can get started:
- Speed Up Builds: Use parallel jobs, dependency caching, and incremental builds to cut build times by 30–50%.
- Improve Code Quality: Integrate automated testing, static code analysis, and pre-merge validations to catch issues early.
- Streamline Deployments: Adopt strategies like blue-green, canary, or rolling deployments for safer, more efficient releases.
- Save Resources: Optimize CI triggers, limit unnecessary builds, and refine repository checkout settings to avoid wasted compute power.
- Maintain Performance: Continuously monitor pipeline metrics, review configurations, and ensure security scans are in place.
Master CI-CD Optimization in Azure DevOps: What You Must Know!
Pipeline Architecture and Configuration
A well-designed pipeline architecture can improve speed, lower costs, and make maintenance more manageable.
Set Up Agent Pools and Parallel Jobs
Configuring agent pools effectively is key to speeding up builds and optimizing resource usage. Agent pools handle pipeline jobs, and how you distribute tasks across multiple agents can make or break your workflow’s efficiency.
You can choose Microsoft-hosted agents for their convenience and pre-installed tools, or go with self-hosted agents if you need more control over the environment and performance. For better resource management, consider setting up separate pools for different workloads. For instance, use one pool for lightweight tasks and another for resource-heavy jobs like complex compilations. Regular monitoring of agent health ensures everything runs smoothly.
Parallel job configurations can also save time. For example, running three npm builds simultaneously while compiling a .NET solution reduces overall build time. These setups are especially powerful when combined with YAML pipelines, which provide flexibility and version control.
Adopt YAML Pipelines for Flexibility
YAML pipelines bring a host of benefits by storing pipeline definitions as code alongside your application. This approach ensures version control, better traceability, and easier maintenance. It also aligns with Infrastructure as Code principles, promoting collaboration through pull requests and enabling reusability with templates and parameters.
One standout feature of YAML pipelines is the ability to reuse components. By creating task groups and pipeline templates for common processes, you can standardize workflows and cut down on pipeline creation time. Adding parameters for elements like environment names or deployment targets allows a single template to handle multiple scenarios. Organizing these templates in a shared repository, documenting their parameters, and versioning them ensures consistency across projects while keeping maintenance manageable.
| Aspect | YAML Pipelines | Classic UI Pipelines |
|---|---|---|
| Version Control | Integrated with Git | Limited version history |
| Code Review | Supports pull requests | Manual review process |
| Reusability | Templates and parameters | Limited reuse options |
| Maintainability | Code-based configuration | UI-dependent configuration |
| Learning Curve | Requires YAML knowledge | Visual, easier interface |
Switching from classic pipelines to YAML requires a thoughtful approach. Start by experimenting with non-critical pipelines to get comfortable with the format. Gradually move on to more complex workflows. Azure DevOps provides tools to help convert classic pipelines to YAML, but manual adjustments are often necessary. Thorough testing and training are essential before rolling out YAML pipelines across your projects.
Optimize Continuous Integration Triggers
Building on a solid architecture and flexible configurations, fine-tuning your CI triggers can save resources and speed up feedback loops. Misconfigured triggers can waste resources and slow down your team, so it’s important to only trigger builds when necessary.
Set up branch-specific triggers to control when builds occur. For example, feature branches might skip production builds, while main or release branches trigger them. Using branch filters in your CI configuration prevents redundant validations and ensures builds are only triggered for relevant changes.
Batching commits is another smart optimization. For instance, one organization reduced their CI pipeline execution time by about 50% – from 6 minutes to 3 minutes – by combining batching with selective branch builds. When developers push multiple commits in quick succession, batching waits briefly and builds only the latest commit, which includes all prior changes. This frees up build agents for more critical tasks.
Pre-merge build validations are also valuable. They catch issues early, providing quick feedback without the need for full production deployments. You can further streamline workflows by applying conditions to jobs and steps. For example, you might run security scans only for production deployments or trigger integration tests when specific files are modified.
Finally, adopting smart branching strategies like trunk-based development or feature flags minimizes merge conflicts and avoids unnecessary builds. When paired with optimized triggers, these strategies ensure your pipelines run only when needed, saving time and resources while accelerating delivery.
Build Performance Optimization
Once your pipeline architecture is in place, the next step is speeding up your builds. A few targeted tweaks can shave off significant time from your build process.
Enable Dependency Caching
Every time your pipeline runs, it downloads dependencies – even when they haven’t changed. This repetitive process wastes time. Dependency caching eliminates this inefficiency by storing downloaded packages locally and reusing them in future builds.
The Azure Pipeline Cache@2 task simplifies this. It generates a hash for your dependency files – like packages.config for NuGet or package-lock.json for npm – and uses that hash to restore a cached folder of previously downloaded packages. If your dependency files remain the same, the pipeline skips downloading and pulls directly from the cache.
Here’s the impact: caching can save 30 to 60 seconds per build when dependencies stay stable. Imagine your team runs 10 parallel builds daily, each saving 45 seconds through caching. That’s 7.5 minutes saved per day. Over 20 working days, you’ve saved 150 minutes – or 2.5 hours – of build time.
Setting up caching is straightforward. Add the Cache@2 task to your YAML pipeline and specify the path to your dependency files. It handles the rest. If your project’s dependencies don’t change frequently, this is one of the simplest ways to cut build times.
Next, let’s focus on reducing unnecessary work during the build process.
Use Incremental Builds
A full rebuild processes every file in your project – even if only a few files have changed. Incremental builds avoid this by compiling only the modified components, saving both time and resources.
This approach is especially valuable for large projects. For example, in a solution with multiple microservices, if only one service has been updated, an incremental build will recompile just that service instead of the entire solution.
To configure incremental builds, start by setting up your pipeline to detect file changes. Use CI triggers to skip builds on branches where no meaningful changes have occurred. Many build tools, like .NET and npm, already support incremental compilation. Enable these features and ensure your pipeline is set up to use them.
For .NET projects, you can further speed up builds by enabling multi-threaded compilation. Set the maximumCpuCount property to utilize all available processor cores. This can make a noticeable difference when compiling large solutions.
Incremental builds are particularly effective in monorepo setups, where multiple independent projects share the same repository. By rebuilding only the affected modules, you keep feedback loops short, allowing developers to test changes quickly and catch issues early.
Now, let’s look at how to optimize how your repository is checked out.
Optimize Repository Checkout Settings
Another way to speed up builds is by fine-tuning how your pipeline checks out repository code. By default, Azure Pipelines downloads the entire repository history, which can take several minutes for repositories with a long commit history. However, most builds don’t need the full history.
You can limit the amount of history fetched by adjusting the fetch depth setting. Instead of cloning the entire repository, use shallow clones to retrieve only recent commits. For instance, a repository with 10 years of history might take minutes to clone fully, but fetching just the last 50 commits can reduce this to seconds.
To configure this, use the fetchDepth parameter in your YAML pipeline. Set it to 1 if you only need the latest commit, or adjust it to include a few recent commits for comparison or analysis. This simple change speeds up the checkout phase without affecting your build process.
Additionally, avoid downloading unnecessary files during checkout. Exclude large binary files, build artifacts, or other content that your pipeline doesn’t need. These adjustments become increasingly important as your repository grows.
By combining optimized checkout settings, dependency caching, and incremental builds, you can achieve a compounding effect. Each improvement builds on the others, leading to significant time savings across your pipeline.
Code Quality and Testing Integration
Fast build times are only worthwhile if the code delivered meets high standards. Beyond speeding things up, ensuring quality is essential for reliable and secure deployments. Once your pipeline is optimized for speed, the next step is to make sure every change is carefully validated before it hits production. This is where automated testing and code analysis come into play.
Integrate Automated Testing
Automated testing catches issues early – long before they can cause problems in production. Unlike manual testing, which is time-consuming and prone to error, automated testing ensures consistent, reliable results. Azure DevOps supports various testing frameworks, allowing you to build a robust quality assurance process directly into your pipeline.
Use different types of tests for comprehensive coverage:
- Unit tests: Validate individual components in isolation.
- Integration tests: Verify that components work together as expected.
- End-to-end tests: Simulate real user workflows to ensure everything functions seamlessly.
For example, you can run unit tests on every commit, execute integration tests on pull requests, and reserve end-to-end tests for pre-production deployment.
To speed things up, consider parallelizing your tests. Running tests concurrently across multiple agents can significantly cut down the time required, especially for longer-running integration or UI tests.
Another strategy is test prioritization. Focus on running critical tests first – such as those that check core functionality like authentication – and configure your pipeline to fail fast if these tests don’t pass. This approach ensures that major issues are addressed quickly.
Once your automated testing framework is in place, you can further enhance quality by incorporating static code analysis.
Enable Static Code Analysis
Static code analysis complements automated testing by identifying issues that might not surface during test execution. These tools scan your source code without running it, flagging security vulnerabilities, coding standard violations, and other potential problems early on. Tools like SonarCloud and CodeQL can act as gatekeepers, preventing flawed or insecure code from being merged into your main branch.
Run static analysis early in the build process and enforce quality gates with clear thresholds. For instance, you can configure the build to fail if critical security vulnerabilities are detected or if code coverage drops below a set percentage, such as 80%.
Quality gates ensure consistent standards for all contributions. Common metrics include:
- Code coverage percentage
- Number of critical vulnerabilities
- Maintainability ratings
- Coding standard violations
Many teams aim for at least 70–80% code coverage as a baseline. By identifying vulnerabilities, code smells, and technical debt early, static analysis makes it easier to address issues before they escalate. Setting it up is simple: add a static analysis task to your YAML pipeline, configure quality gates, and integrate the tool with your Azure DevOps project. Most tools also provide dashboards to track quality trends over time, giving you a clear picture of your codebase’s health.
Set Up Pre-Merge Build Validations
To maintain code quality, establish branch policies that require a successful pipeline run before merging any pull requests. This validation pipeline should include all critical quality checks, such as:
- Successful compilation
- Passing unit tests
- Meeting code coverage thresholds
- Static analysis results
- Security scans
You can also use conditions to selectively run specific steps. For example, you might configure deployment steps to execute only on the main branch using:
condition: and(succeeded(), eq(variables['Build.SourceBranch'], 'refs/heads/main'))
This ensures that resource-intensive steps are only executed when necessary. Any failures – whether from failed tests, low code coverage, critical security vulnerabilities, static analysis violations, or compilation errors – should block the merge. This guarantees that only code meeting your organization’s standards is integrated.
Pre-merge validations provide fast feedback loops, especially when run on lightweight build agents. This not only enhances developer productivity but also reduces the risk of introducing issues into production.
Track key metrics like test pass/fail rates, code coverage percentages, and static analysis violation counts. Azure DevOps offers built-in dashboards to monitor these metrics over time. Analyzing trends can help identify recurring problems, signaling areas where tests may need improvement or where architectural changes might be necessary.
sbb-itb-f9e5962
Deployment and Release Management
After your code clears all quality checks, the next hurdle is deploying it to production in a way that’s both safe and efficient. A poorly executed deployment can undo all the effort invested in earlier stages. This step ties directly to earlier optimizations, ensuring that streamlined builds transition smoothly into production. The ultimate aim? To move validated builds through development, staging, and production environments with minimal risk and maximum reliability.
Select the Right Deployment Strategy
The deployment strategy you choose should align with your application’s requirements and your organization’s tolerance for risk. Azure DevOps offers several deployment options, each tailored to different scenarios.
- Blue-green deployments: This strategy uses two identical production environments. The current (blue) environment handles live traffic, while the standby (green) environment hosts the new code. If something goes wrong when traffic is switched to green, you can redirect it back to blue almost instantly. This approach is perfect for critical applications needing zero downtime and instant rollback.
- Canary releases: With this method, new updates are rolled out incrementally to a small group of users before full deployment. For example, you might start by routing 10% of traffic to the new version, monitor its performance, and gradually increase traffic if everything runs smoothly. This helps catch issues early while minimizing user disruption.
- Rolling deployments: Updates are applied sequentially to different instances, ensuring some remain operational throughout the process. This strategy works well for applications that can handle gradual updates without requiring an immediate rollback.
| Deployment Strategy | Best For | Rollback Speed | Risk Level | Downtime |
|---|---|---|---|---|
| Blue-Green | Mission-critical apps with no downtime | Instant | Low | None |
| Canary | Gradual validation with user subsets | Medium | Very Low | None |
| Rolling | Applications with multiple instances | Medium | Low | None |
Once you’ve selected a deployment strategy, incorporate staged release processes to minimize risks further.
Implement Staged Releases with Approvals
Dividing deployments into multiple stages with built-in controls can prevent problematic code from reaching production. Typically, pipelines move through development, staging, and production environments, with each stage requiring specific approvals.
Automate deployments in non-production environments for quicker feedback, while keeping production deployments tightly controlled. Use approvals and checks to manage when each stage proceeds. For instance, you can require team leads to sign off before production deployment or configure your pipeline to deploy to production only when the source branch is "main" using conditional logic.
Key gate configurations might include:
- Ensuring all automated tests pass
- Confirming code coverage meets thresholds (e.g., 70–80%)
- Verifying no critical security vulnerabilities exist
- Securing stakeholder approval
To avoid deployment conflicts, apply resource locks during the deployment window and release them once the process is complete.
One organization improved pipeline performance by nearly 50%, cutting build times from 6 minutes to 3 minutes. They achieved this by batching builds, limiting them to main branches, and requiring pipeline validation before merging pull requests. This demonstrates how refining deployment processes can significantly enhance pipeline efficiency.
Use Infrastructure as Code (IaC)
Configuration drift – where environments diverge over time due to manual changes – is a common cause of deployment failures. Infrastructure as Code (IaC) eliminates this issue by defining infrastructure components like servers, networks, and databases in code, rather than setting them up manually.
In Azure, IaC is often implemented using Azure Resource Manager (ARM) templates or Terraform scripts. With IaC, every deployment creates identical infrastructure, as it’s all generated from the same codebase.
Here’s what IaC brings to the table:
- Version control: Tracks infrastructure changes, making it easy to identify what changed and when.
- Reproducibility: Spin up exact replicas of production environments for testing or disaster recovery.
- Automation: Speeds up deployments and ensures consistent setups across environments.
To get started with IaC, define your infrastructure in ARM templates or Terraform configurations and store them in version control alongside your application code. Configure your pipeline to provision or update infrastructure automatically before deploying application code. Use consistent definitions across environments, adjusting only for environment-specific parameters like instance sizes or connection strings.
For teams managing multiple environments, IaC ensures that development, staging, and production environments remain consistent, aside from intentional differences. When combined with well-thought-out deployment strategies and staged releases, IaC lays the groundwork for reliable and repeatable deployments.
Organizations leveraging TECHVZERO‘s DevOps solutions benefit from tailored deployment strategies designed to meet specific availability needs and business priorities, ensuring dependable, scalable deployments with minimal downtime.
Monitoring, Security, and Maintenance
Keeping your pipeline in top shape requires ongoing monitoring, robust security measures, and regular maintenance. These efforts help prevent performance slowdowns, security risks, and outdated setups, ensuring your pipeline continues to deliver consistent results even as your project and team evolve. Here’s how you can integrate these practices into your pipeline workflow.
Set Up Continuous Monitoring
Continuous monitoring is your first line of defense against potential pipeline issues. Tools like Azure Monitor and Application Insights can track key metrics, such as pipeline execution time, success/failure rates, agent utilization, and build frequency. By establishing baseline metrics, you can spot anomalies early and act before they become major problems. For instance, if build times creep up from 8 minutes to 12 minutes over a few weeks, it might be time to add agent capacity or fine-tune your pipeline.
Azure DevOps also offers built-in analytics to monitor these metrics over time. Aim for build times under 15 minutes and success rates above 95%. To improve performance, consider enabling parallel execution and caching, which can shave 30–60 seconds off each build. Monitor agent resources like CPU, memory, and disk space, and configure dashboards with alerts to flag unusual behavior. While Microsoft-hosted agents are automatically maintained, self-hosted agents need manual checks to avoid resource bottlenecks.
Integrate Security Scans
Once performance is under control, focus on securing your pipeline. Automated security scans can catch vulnerabilities early, saving you from costly production headaches. Tools like SonarQube can run alongside your build and test stages, continuously inspecting code quality and flagging security issues.
Incorporate both static analysis (for code vulnerabilities) and composition analysis (for dependency risks). Pay special attention to common threats like dependency conflicts, code injection, and insecure configurations. To enforce security, configure deployment gates that block changes from moving to production until all scans pass. This ensures vulnerabilities are addressed before they impact your users.
Regularly Review and Refactor Pipelines
Even the best pipeline configurations need revisiting. As your project grows and workflows shift, periodic reviews help maintain efficiency and reliability. Schedule reviews quarterly or whenever significant changes occur. During these evaluations, look at execution times, identify outdated practices, and streamline redundant steps. Key areas to focus on include parallel job usage, caching strategies, agent pool configurations, and deployment methods that align with current business goals.
For example, one organization reduced build times from 6 minutes to 3 minutes by batching builds, limiting them to main branches, and requiring pipeline validation before merging pull requests. Documenting these improvements can guide future optimizations. Additionally, seek input from developers and operations teams – they often have practical insights that aren’t obvious from metrics alone.
Stay informed about Azure DevOps updates by checking Microsoft’s documentation, attending webinars, and engaging in community discussions. Assigning a team member to explore new features quarterly can help your team test and implement promising updates in non-critical pipelines before rolling them out broadly.
Finally, wrap up each build with an agent workspace cleanup. Removing temporary files, old Docker images, and unused dependencies keeps your agents running smoothly and prevents disk space issues.
Conclusion and Key Takeaways
Checklist Recap
Improving your Azure build pipelines is a continuous process that requires regular updates and adjustments. In this checklist, we’ve explored the key areas that directly affect deployment speed, reliability, and how efficiently resources are used.
Start with the basics: set up agent pools for distributed builds, use YAML pipelines to improve version control, and configure CI triggers to balance responsiveness with resource efficiency. These foundational steps set the stage for everything else.
Next, focus on performance improvements – this is where you’ll see the most noticeable gains. Dependency caching can save 30–60 seconds per build when packages remain unchanged. Leveraging parallelization through concurrent jobs and stages significantly boosts build performance. Incremental builds are another game-changer, especially for large projects, as they ensure you’re not rebuilding components that haven’t changed.
Incorporate automated testing and static analysis tools like SonarQube directly into your pipeline to catch potential issues early. Use deployment gates to enforce quality checks before moving changes to production, and choose deployment strategies – whether rolling, canary, or blue-green – that align with your application’s risk tolerance.
Finally, keep your pipeline healthy with continuous monitoring. Use Azure DevOps analytics to track metrics like execution times, success rates, and resource usage. Incorporate security scans to identify vulnerabilities before deployment and schedule quarterly reviews to uncover areas for improvement that metrics alone might not highlight.
By following these steps, you can build a more efficient and reliable Azure pipeline that accelerates deployment without sacrificing quality.
Next Steps for Teams
With these insights in mind, teams should focus on high-impact optimizations first. Start with parallelization and caching, as these often deliver the quickest and most noticeable improvements. Once these are in place, move on to implementing incremental builds, followed by monitoring and continuous improvement practices to track long-term performance gains.
Establish baseline metrics for key areas like build execution times, test durations, deployment frequency, and success rates. This helps measure the tangible impact of your optimizations. For example, effective parallelization and caching might cut build times from 45 minutes to 15–20 minutes, while reducing artifact transfer times by 30–50%.
Roll out changes gradually and test them in non-production environments to avoid introducing regressions. Use job and step conditions to ensure tasks are executed selectively, so optimizations don’t inadvertently skip crucial steps.
Encourage a culture of continuous improvement by inviting team members to suggest enhancements based on their day-to-day experiences. Often, their insights reveal opportunities that metrics alone might miss. Document all optimization decisions and lessons learned in a shared knowledge base for easy reference.
Stay up-to-date with Azure DevOps updates by regularly reviewing Microsoft’s documentation. Assign someone on your team to explore new features quarterly and test them in lower-risk pipelines before widespread implementation.
FAQs
How do parallel jobs and agent pools help speed up Azure pipeline builds?
Parallel jobs and agent pools are game-changers when it comes to speeding up build times in Azure pipelines. With parallel jobs, you can run multiple independent tasks at the same time, which helps cut down the overall build duration. For instance, instead of compiling, testing, and packaging your application one after the other, you can handle all three processes simultaneously.
On the other hand, agent pools act as a shared resource hub, offering a collection of agents that can be used across different pipelines or projects. This setup ensures that workloads are evenly distributed, preventing bottlenecks and enabling faster build completions. These tools are particularly valuable for large-scale or complex projects that demand frequent builds and testing.
What are the advantages of using YAML pipelines instead of classic UI pipelines in Azure DevOps?
YAML pipelines in Azure DevOps bring a level of flexibility and scalability that classic UI pipelines simply can’t match. One of their standout features is the ability to version control your pipeline configuration right alongside your code. This makes tracking changes and collaborating with your team much smoother and more transparent.
Another big advantage is the support for advanced customization and automation. This helps create efficient, consistent CI/CD workflows that can adapt to your project’s needs. Plus, YAML pipelines are portable, meaning you can reuse them across multiple projects. This not only saves time but also reduces the effort required when spinning up new pipelines. By adopting YAML, you can simplify deployments and boost the reliability of your pipeline processes.
How can dependency caching and incremental builds improve the performance of Azure pipelines?
When working with Azure pipelines, dependency caching and incremental builds can dramatically improve efficiency and cut down build times by avoiding repetitive tasks.
Dependency caching works by storing commonly used files, libraries, or modules. Instead of downloading or rebuilding these resources every time the pipeline runs, they’re retrieved from the cache. This can be a game-changer for projects with hefty dependencies, saving valuable time and resources.
On the other hand, incremental builds focus on processing only the parts of the codebase that have been modified, skipping over unchanged sections. This targeted approach not only speeds up the build process but also ensures quicker feedback, which is particularly useful for large or complex projects.
By combining these techniques, you can achieve faster build times, reduce resource consumption, and make your pipelines far more efficient.